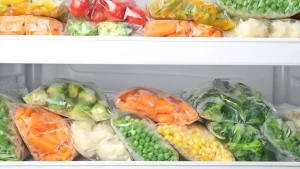
Freezing vegetables is an excellent way to extend their shelf life while preserving their quality, flavor, and nutritional value. One crucial step in the freezing process is blanching, which helps to retain the color, texture, and nutrients of vegetables. In this article, we will outline the steps for blanching and freezing vegetables, ensuring that you can enjoy fresh, home-frozen produce for an extended period.
1. Selecting and Preparing Vegetables
Start by choosing fresh, high-quality vegetables. It’s best to freeze vegetables when they are at the peak of ripeness. Rinse the vegetables thoroughly to remove any dirt or contaminants. After washing, trim and prepare them based on your intended use. This may include slicing, dicing, or leaving them whole.
2. Blanching Process
Blanching is a brief heat treatment that inactivates enzymes within vegetables, which can cause flavor and texture changes, and also helps to clean the surface of vegetables. Follow these steps for blanching:
Ingredients:
- Fresh vegetables
- Water
- Ice cubes or cold water
- Large pot
- Blanching basket or colander

https://i.pinimg.com/originals/a9/20/3b/a9203be045e6923b9dec7eef0a3a7fc1.jpg
Steps:
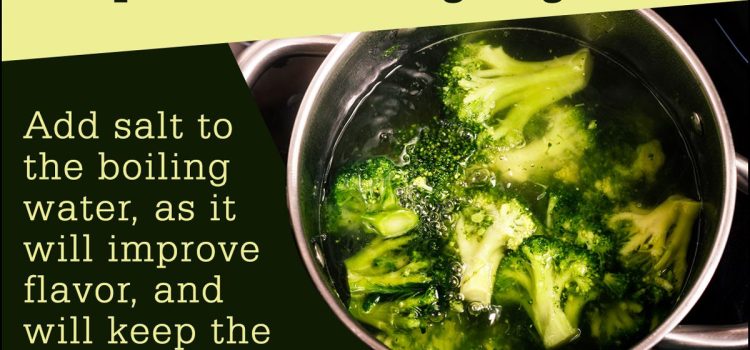
- Boiling Water: Fill a large pot with water and bring it to a rolling boil. The water should be deep enough to submerge the vegetables completely.
- Blanching Basket or Colander: Place a blanching basket or colander in the sink and have a bowl of ice water nearby.
- Blanching Time: Add a small batch of vegetables to the boiling water. The blanching time will vary depending on the type of vegetable. Use the following general guidelines:
- Leafy greens: 1-2 minutes
- Broccoli and cauliflower florets: 3-4 minutes
- Carrots and peas: 2-3 minutes
- Corn on the cob: 6-8 minutes
- Cooling: As soon as the blanching time is up, quickly remove the vegetables from the boiling water using a slotted spoon or the blanching basket and transfer them immediately to the bowl of ice water. This stops the cooking process and preserves the vibrant color and texture of the vegetables.
- Draining and Drying: After the vegetables have cooled in the ice water for the same amount of time as the blanching, drain them thoroughly. Use a clean kitchen towel or paper towels to gently blot them dry. It’s essential to remove excess moisture to prevent ice crystals from forming during freezing, which can impact the quality.
3. Packaging for Freezing
Proper packaging is crucial to prevent freezer burn and maintain the quality of your vegetables. Use airtight containers or resealable freezer bags. Here are the steps for packaging:
- Portion Control: Divide the blanched and dried vegetables into portion sizes that you will use in one meal.
- Remove Air: Squeeze out as much air as possible from resealable freezer bags before sealing. For airtight containers, ensure they are sealed tightly.
- Labeling: Label each container or bag with the contents and the date of freezing. This helps you keep track of how long they’ve been in the freezer.
4. Freezing
Place the packaged vegetables in the freezer. It’s best to use the coldest part of your freezer to freeze them as quickly as possible, which preserves their quality.
5. Storage Duration
The storage duration for frozen vegetables varies depending on the type. In general, most frozen vegetables can be stored for 8 to 12 months without a significant loss of quality. After this period, the vegetables may still be safe to eat but can suffer from texture and flavor degradation.
6. Thawing and Cooking
When you’re ready to use the frozen vegetables, there’s no need to thaw them before cooking. You can add them directly to soups, stews, stir-fries, or any dish you’re preparing. This quick transition from freezer to pot helps maintain their crispness and nutrition.

Conclusion
Blanching and freezing vegetables is an excellent way to preserve their quality and extend their shelf life. By following these steps for blanching and packaging, you can enjoy the convenience of having frozen vegetables at your fingertips for extended periods while maintaining their fresh taste and nutritional value.


