Introduction
Are you considering buying a home in a neighborhood that’s undergoing gentrification? It may seem like a great investment opportunity, but with it comes certain risks and rewards. As communities change, property values can skyrocket or plummet, leaving homeowners on either end of the spectrum. In this blog post, we’ll explore the pros and cons of investing in gentrifying neighborhoods to help you determine if it’s worth the risk for your unique situation. So grab a cup of coffee and let’s dive into this important decision together!
What is gentrification?
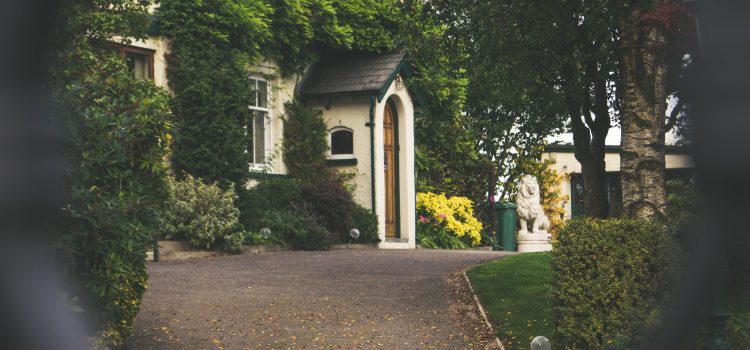
Gentrification is the process of renovating and improving a neighborhood, typically one that is in a state of disrepair. The goal of gentrification is to attract new, middle-class residents to the area and increase property values. However, this process can often lead to the displacement of low-income residents who can no longer afford to live in the area.
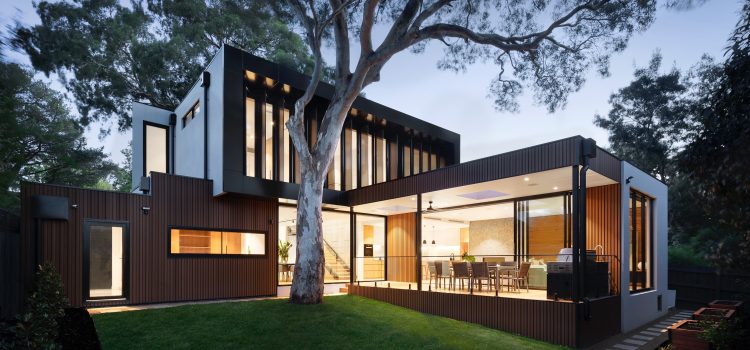
There are both pros and cons to consider when deciding whether or not to buy a home in a gentrifying neighborhood. On the positive side, you may be able to get a good deal on a property that will appreciate in value over time. You may also enjoy being part of a community that is coming back to life after years of decline. On the downside, you may have to deal with increased noise and traffic from new businesses and construction projects. You may also be priced out of your own neighborhood if gentrification leads to rapid increases in rents and property values.
Ultimately, only you can decide whether or not buying a home in a gentrifying neighborhood is right for you. If you do choose to go ahead with such a purchase, be sure to do your research and be prepared for changes that could come with the territory.
Pros of buying a home in a gentrifying neighborhood
There are many reasons to consider buying a home in a gentrifying neighborhood. For one, you may be able to get a good deal on a property that is primed for appreciation. Additionally, you will be part of the process of revitalizing the neighborhood, which can be a rewarding experience. Finally, you will have access to new shops and restaurants as the area becomes more desirable.
However, there are also some risks to consider before making such a purchase. First and foremost, you may end up being priced out of the very neighborhood you helped to revitalize. Additionally, you may find yourself in the midst of increased crime or other challenges as the area transitions. As such, it is important to do your research and weigh the pros and cons before making a decision.
Cons of buying a home in a gentrifying neighborhood
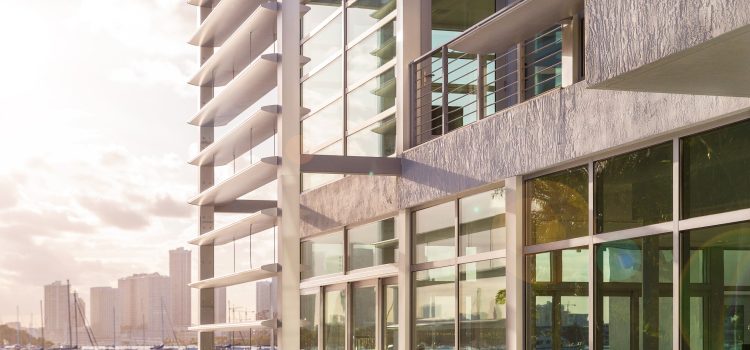
There are a few potential cons to buying a home in a gentrifying neighborhood. First, as the area becomes more desirable, property values will increase, which could price some residents out of the area. Additionally, new development and construction can lead to displacement of long-time residents and businesses, as well as increased traffic and noise. Finally, there is always the risk that the market could take a turn and the area could gentrify much slower than anticipated or even decline again.
How to tell if a neighborhood is gentrifying
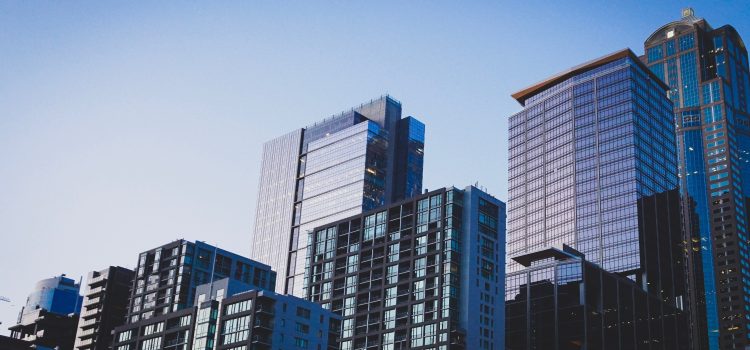
There are a few key things to look for when trying to determine if a neighborhood is gentrifying. First, check to see if there has been an influx of new businesses and restaurants. Second, look at the types of businesses that have opened up – are they high-end or luxury brands? Third, look at housing prices and see if they have been increasing rapidly. Finally, talk to the residents of the neighborhood and see if they feel like it is changing for the better or worse.
Conclusion
In the end, it is up to you to decide whether buying a home in a gentrifying neighborhood is worth the risk. If you are able to find a great deal and are comfortable with the potential risks of living in an area undergoing rapid change, then investing in gentrification can be rewarding. On the other hand, if you value stability and predictability more than affordability and would rather wait until your neighborhood has fully changed before making your purchase, then it may be best for you to avoid taking this type of risk.