


1. What Is a 3D Product Configurator?
A 3D product configurator is a digital tool that allows customers to interact with and customize a product in real-time using a 3D interface. Unlike static images or 2D selectors, this tool lets users rotate, zoom, and modify different parts of a product—such as color, material, size, or components—directly in the browser. The result is a fully interactive experience where users can visualize exactly what they’re purchasing before making a decision. This capability is especially useful in industries like automotive, furniture, apparel, and jewelry, where customization is critical to customer satisfaction and product personalization.
2. Why Build a 3D Product Configurator?
Building a 3D product configurator is an investment in user experience, sales efficiency, and brand innovation. It enhances customer engagement by allowing shoppers to interact with products dynamically, making the shopping process fun and memorable. Real-time customization increases buyer confidence, which translates into higher conversion rates and fewer returns. Additionally, it differentiates your brand from competitors, providing a modern and professional edge. With decreasing costs in 3D modeling and browser rendering power, it’s more feasible than ever to implement. Whether you’re targeting B2B or D2C, a configurator empowers users and can drastically streamline the sales funnel.
3. Key Components of a 3D Configurator
To successfully build a 3D product configurator, you need several technical and creative components working together. First, high-quality 3D models are essential; they must be optimized for web performance while still looking realistic. Then, you’ll need a rendering engine like Three.js or Babylon.js to display and manipulate the models. A user-friendly UI enables customers to make changes—colors, sizes, features—and the logic engine applies rules to ensure valid combinations. Optional backends can store configurations, manage pricing, and connect to your eCommerce system. Every part must work in harmony to create a smooth, real-time experience for users.
4. Define Requirements and User Journey
Before building anything, clearly define the configurator’s purpose and scope. Start by identifying which products will be configurable and to what extent—colors, components, dimensions, etc. Map out the ideal user journey: What will the user see first? How will they interact with the product? What’s the end goal—an order, a quote, or a saved design? This planning stage is also the time to gather brand guidelines, technical requirements, and user interface ideas. Creating detailed wireframes or mockups can help developers and stakeholders align on expectations and functionality before writing a single line of code or modeling.
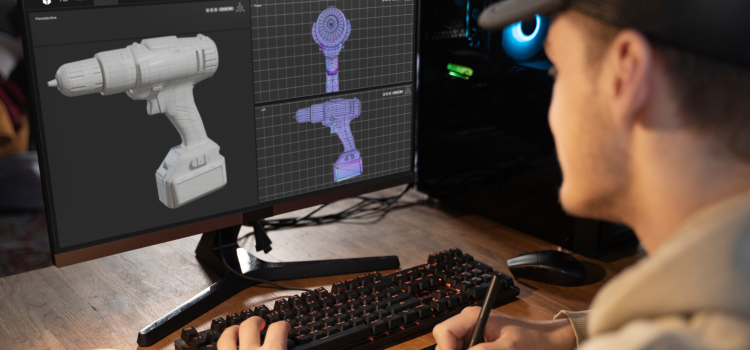
5. Develop or Acquire 3D Models
3D models form the backbone of any configurator. These must be accurate representations of your real-world products but optimized for fast web loading. You can create models using tools like Blender or Autodesk Maya, or outsource to experienced 3D artists. Ensure they’re exported in web-friendly formats like GLTF or GLB. Pay attention to polygon count—keep it low without sacrificing visual quality. You’ll also want to separate different parts of the model into components (e.g., legs, frame, cushion) to allow customization. Texture mapping, lighting, and UV unwrapping are important considerations to enhance realism while maintaining performance.
6. Choose a Rendering Engine
The rendering engine is what brings your 3D models to life in the browser. The most common choices are Three.js and Babylon.js—both JavaScript libraries capable of displaying interactive 3D content. Three.js offers extensive flexibility and community support, making it ideal for most use cases. Babylon.js includes useful out-of-the-box tools, especially for adding GUI components or physics. Alternatively, Unity WebGL is suited for ultra-realistic or game-like configurators, though it comes with heavier file sizes and longer load times. Your choice will depend on the complexity of your product, customization needs, and the skill set of your development team.
7. Build the Frontend UI
Your UI is how users interact with the configurator, so it needs to be intuitive, responsive, and visually consistent with your brand. Common frontend frameworks like React or Vue.js work well for creating dynamic interfaces. Your UI should include features like color pickers, material swatches, dropdown selectors, zoom/pan controls, and a summary of selected options. These elements communicate directly with the 3D scene to update the product in real-time. Accessibility should not be an afterthought—make sure keyboard navigation and screen readers are supported. The goal is to provide a smooth and delightful user experience across all devices.
8. Implement Business Logic
A configurator is not just about visuals—it needs to enforce logic rules that ensure valid configurations. For example, if a user selects a wooden base, only compatible cushions or finishes should appear. Business logic can also handle pricing calculations, promotions, or stock availability. This logic can be handled on the frontend for simple applications or centralized in a backend for more complex needs. You can also use rule engines or integrate with a CMS to make these rules easier to manage. Make sure to test edge cases to avoid invalid combinations that could confuse or frustrate users.
9. Optimize for Performance
Performance is crucial for both user experience and SEO. A slow-loading configurator can drive users away. Optimize 3D assets by reducing polygon count and using compressed textures. Lazy-load models so that only necessary components load initially, while others load as needed. Use Level of Detail (LOD) systems to display simpler models when the user zooms out. Implement GPU-efficient shaders and minimize JavaScript blocking code. Also, consider using Web Workers to offload computational tasks. Don’t forget to test on mobile devices, where performance constraints are more severe. A well-optimized configurator feels seamless and encourages users to explore more.
10. Add Augmented Reality (AR) or Virtual Reality (VR)
To push the experience even further, consider integrating AR or VR. With AR, users can place the configured product in their physical environment using their smartphone. For instance, a customer could see how a customized chair looks in their living room. WebAR tools like 8thWall or model viewers from Apple (USDZ) and Google (GLB) make this possible without downloading an app. VR is more immersive and suitable for showrooms or product demos, allowing users to walk around or even inside a product. These technologies not only elevate the experience but also help bridge the gap between digital and physical retail.