Introduction:
Yoga has an activity that has existed for ages, providing countless advantages for both the physical and mental aspects. In case you’re new in the practice of yoga and seeking to begin your path, this detailed guide will support you initiate with a positive start. If you aim to enhance flexibility, alleviate stress, or enhance overall health. The manual will supply you with the essentials of yoga exercises.
Step 1: Set Your Intentions
Prior to starting start your yoga voyage, grasp a while to determine your aspirations. Inquire within the reasons behind your desire to perform yoga and the goals you aspire to accomplish. Establishing clear goals can assist you sustain your concentration and enthusiasm during your training.
Step 2: Find a Suitable Space
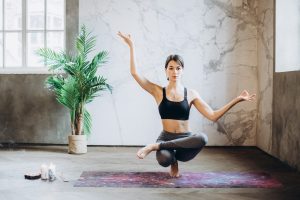
Select a peaceful and cozy area where you can perform yoga without any disturbances. Remove any obstructions from any mess and ensure you maintain ample room to be able to move without restrictions. Think about utilizing a pilates mat for extra comfort and balance.
Step 3: Start with Basic Poses
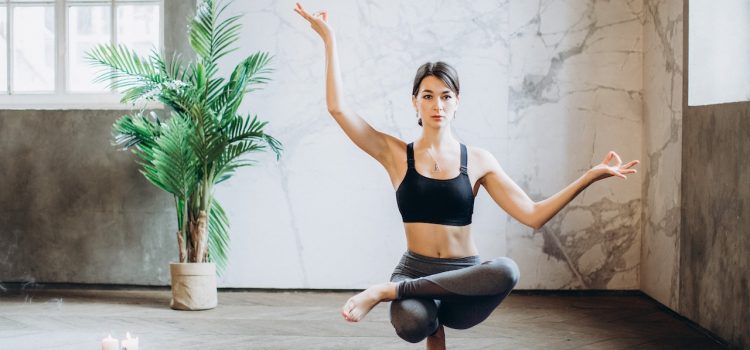
For someone new, starting with essential yoga exercises that suit your level of flexibility and strength. Start with positions like Standing Pose, Resting Pose, and Adho Mukha Svanasana. These exercises can assist you establish a firm groundwork and boost your physical consciousness.
Step 4: Focus on Breath
Respiration is a crucial element of yoga training. Focus to your breathing and do deep and mindful breaths through the duration of your yoga session. It will assist you unwind, be mindful, and link with your being.
Step 5: Take it Slow
Don’t rush and heed your body’s signals. Avoid pushing overexertion or pressure yourself to assume postures that are uncomfortable. Recognize your limitations and slowly progress towards more difficult postures. When your body becomes increasingly flexible and becomes stronger, you can exert your limits further.
Step 6: Practice Regularly
Regularity is vital when you’re doing yoga practice. Strive to regularly do yoga, even with just a a couple of minutes daily. It will assist you develop power, agility and awareness gradually.
Conclusion:
Commencing a yoga routine as a novice is also exhilarating and difficult. Through following the provided instructions, you can begin your yoga quest with assurance. Keep in mind to be patient with your own self, savor the process, and adopt the empowering influence of engaging in yoga.